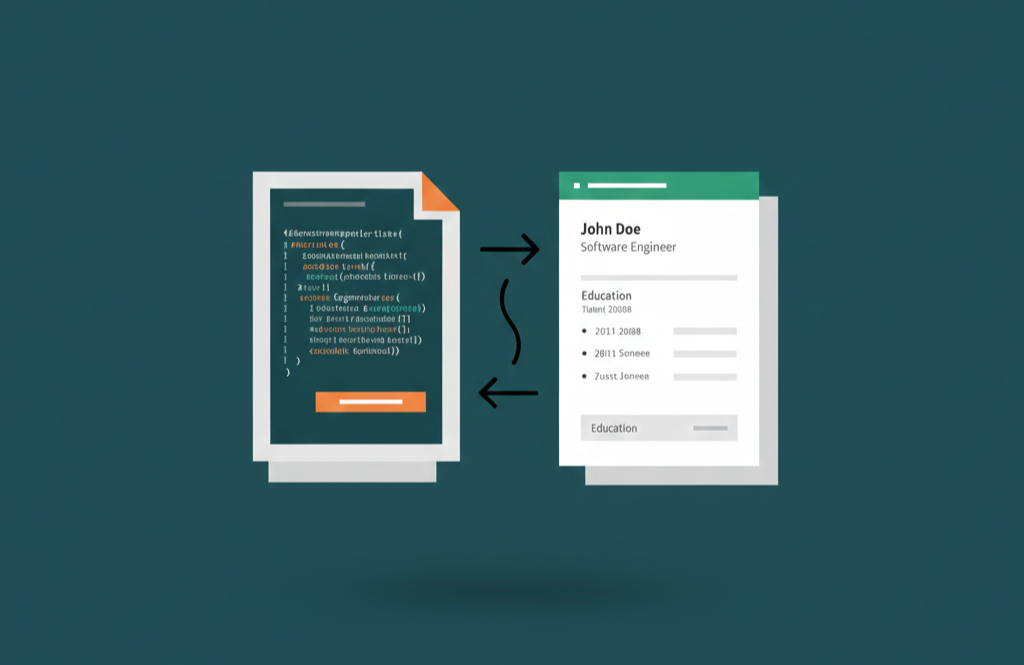
A lot of times when I find myself updating my CV, I end up spending more time struggling with formatting than actually doing the tiny update I wanted. Frustrated by this, I thought that there should be a faster way to manage this process. The solution? Separate the content from the format. That means having a file containing your personal information and another file defining how to present it. This problem is nicely solved by LaTex, a tool widely used in academia for document preparation.
In this article, we’ll combine LaTex with Pandoc to provide a simple way to generate a professional CV from data. This way, the content of your CV is stored in a structured format (YAML), and the design is handled by a LaTex template. Whenever you need to update your CV, you just modify the YAML file and regenerate the PDF.
The workflow
The architecture is simple. Pandoc will read your data from a YAML file and use a LaTex template to format it into a PDF:
YAML (The Data) + LaTeX (The Template) → Pandoc (The Engine) → PDF (The Result)
Here’s how to set it up step-by-step.
1. Prerequisites
You will need two main tools installed on your system:
- Pandoc, the “universal document converter”. You can read the install instructions here.
- TeX Distribution that provides the PDF rendering engine. The recommended options are:
Verify your installation by running:
| |
They should print version information. If not, make sure they are correctly installed and added to your system PATH.
2. Create the YAML file
Create a YAML file named, for example, cv.yaml. This file will store your personal information and CV sections, acting as your “Single Source of Truth”. If you get a new job or change your phone number, this is the only file you need to edit.
You need to follow the YAML syntax, but don’t worry, it is designed to be human-readable and easy to write. For reference, you can check the YAML specification.
Here’s a YAML example with my details:
| |
Note: If your data contains special LaTeX characters like & or %, remember to escape them (e.g., R&D) to avoid build errors.
3. Create the template
Now, let’s define the style of your CV. Pandoc treats this as a template, where variables from the YAML will be injected.
A minimal example could look like the following. Here, the $variables$ will be replaced by the contents of your YAML file. Loops like $for(experience)$ … $endfor$ let you repeat blocks for each item in a list. Save this as cv.tex:
| |
4. Generate the PDF
With everything set up, you can generate your CV PDF with:
| |
This command tells Pandoc to:
- Load the data from
cv.yaml. - Use
cv.texas the template. - Produce a PDF with
pdflatex.
5. The full tool
Now that you know how this solution works under the hood, it’s time to introduce cv-cli, a command-line tool available in the following public repository:
👉 https://github.com/XicuM/cv-cli
To use this utility, you must first install it. Download the source code from the repository and open a terminal from the main code directory. Once there, run:
| |
Once installed, you can start using it. The main commands are:
| |
If you try cv init and then cv build, an output folder will be generated with the following documents:
| cv-en.pdf | template-en.pdf |
|---|---|
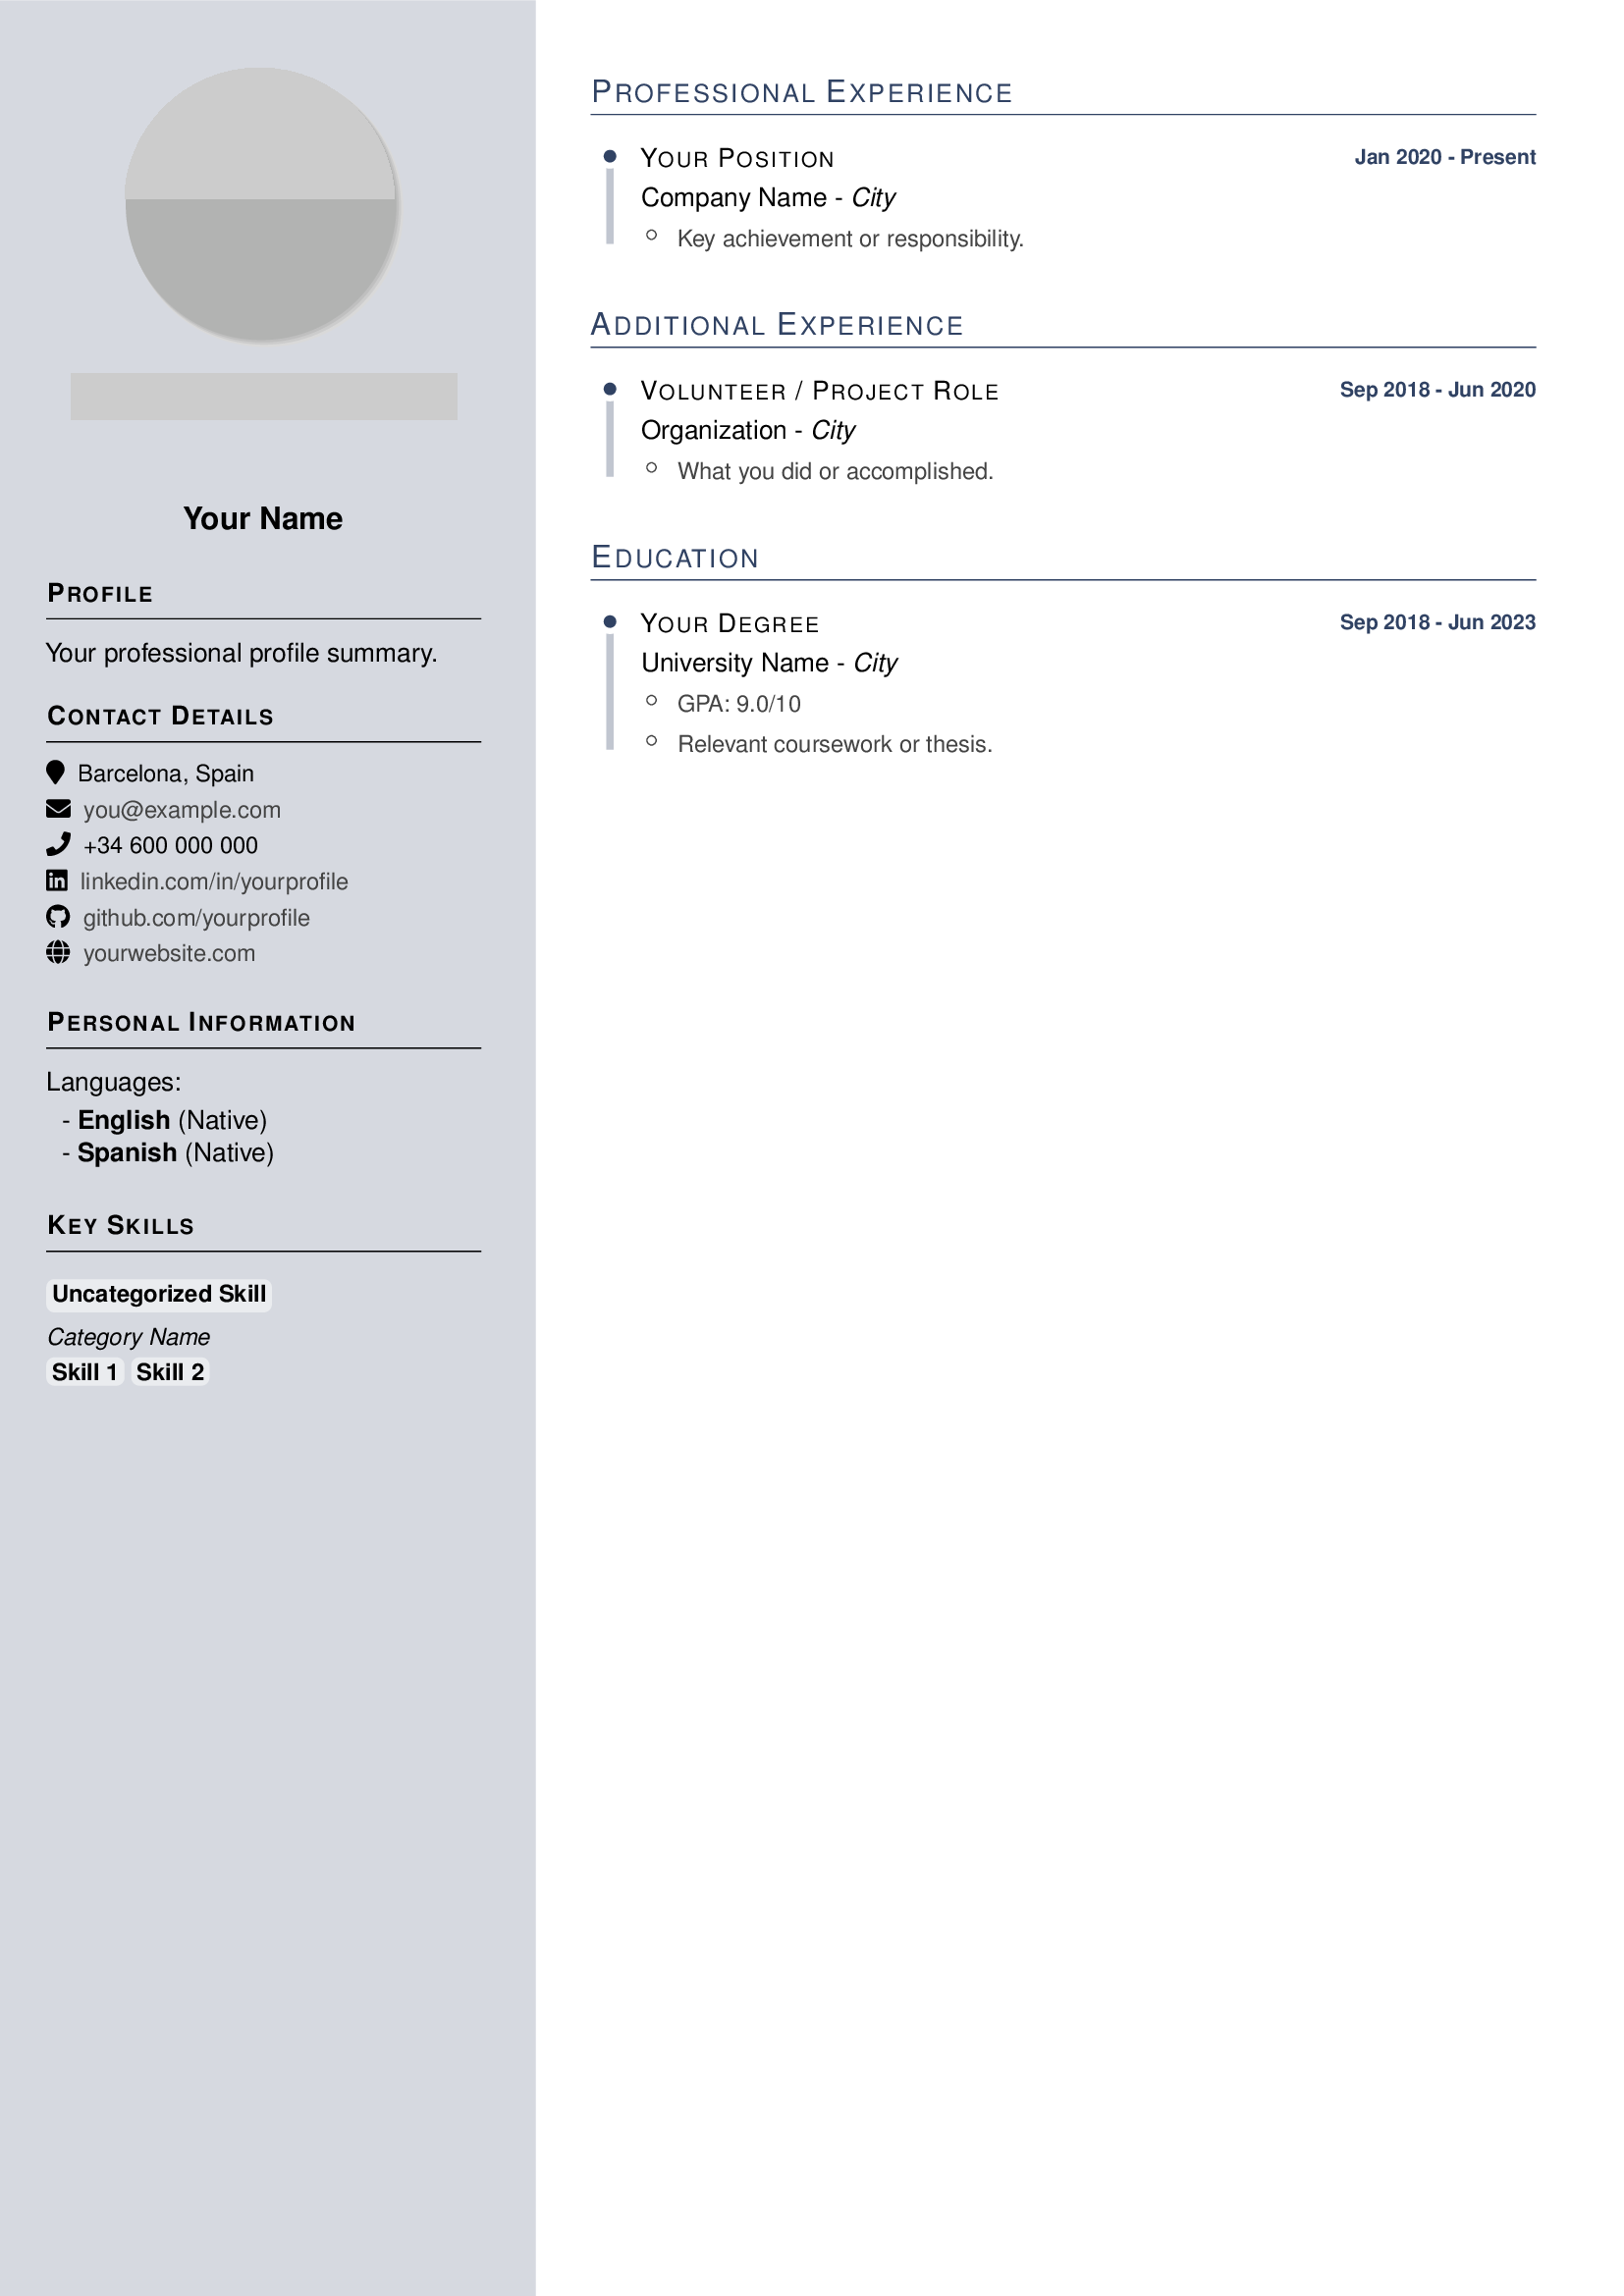 | 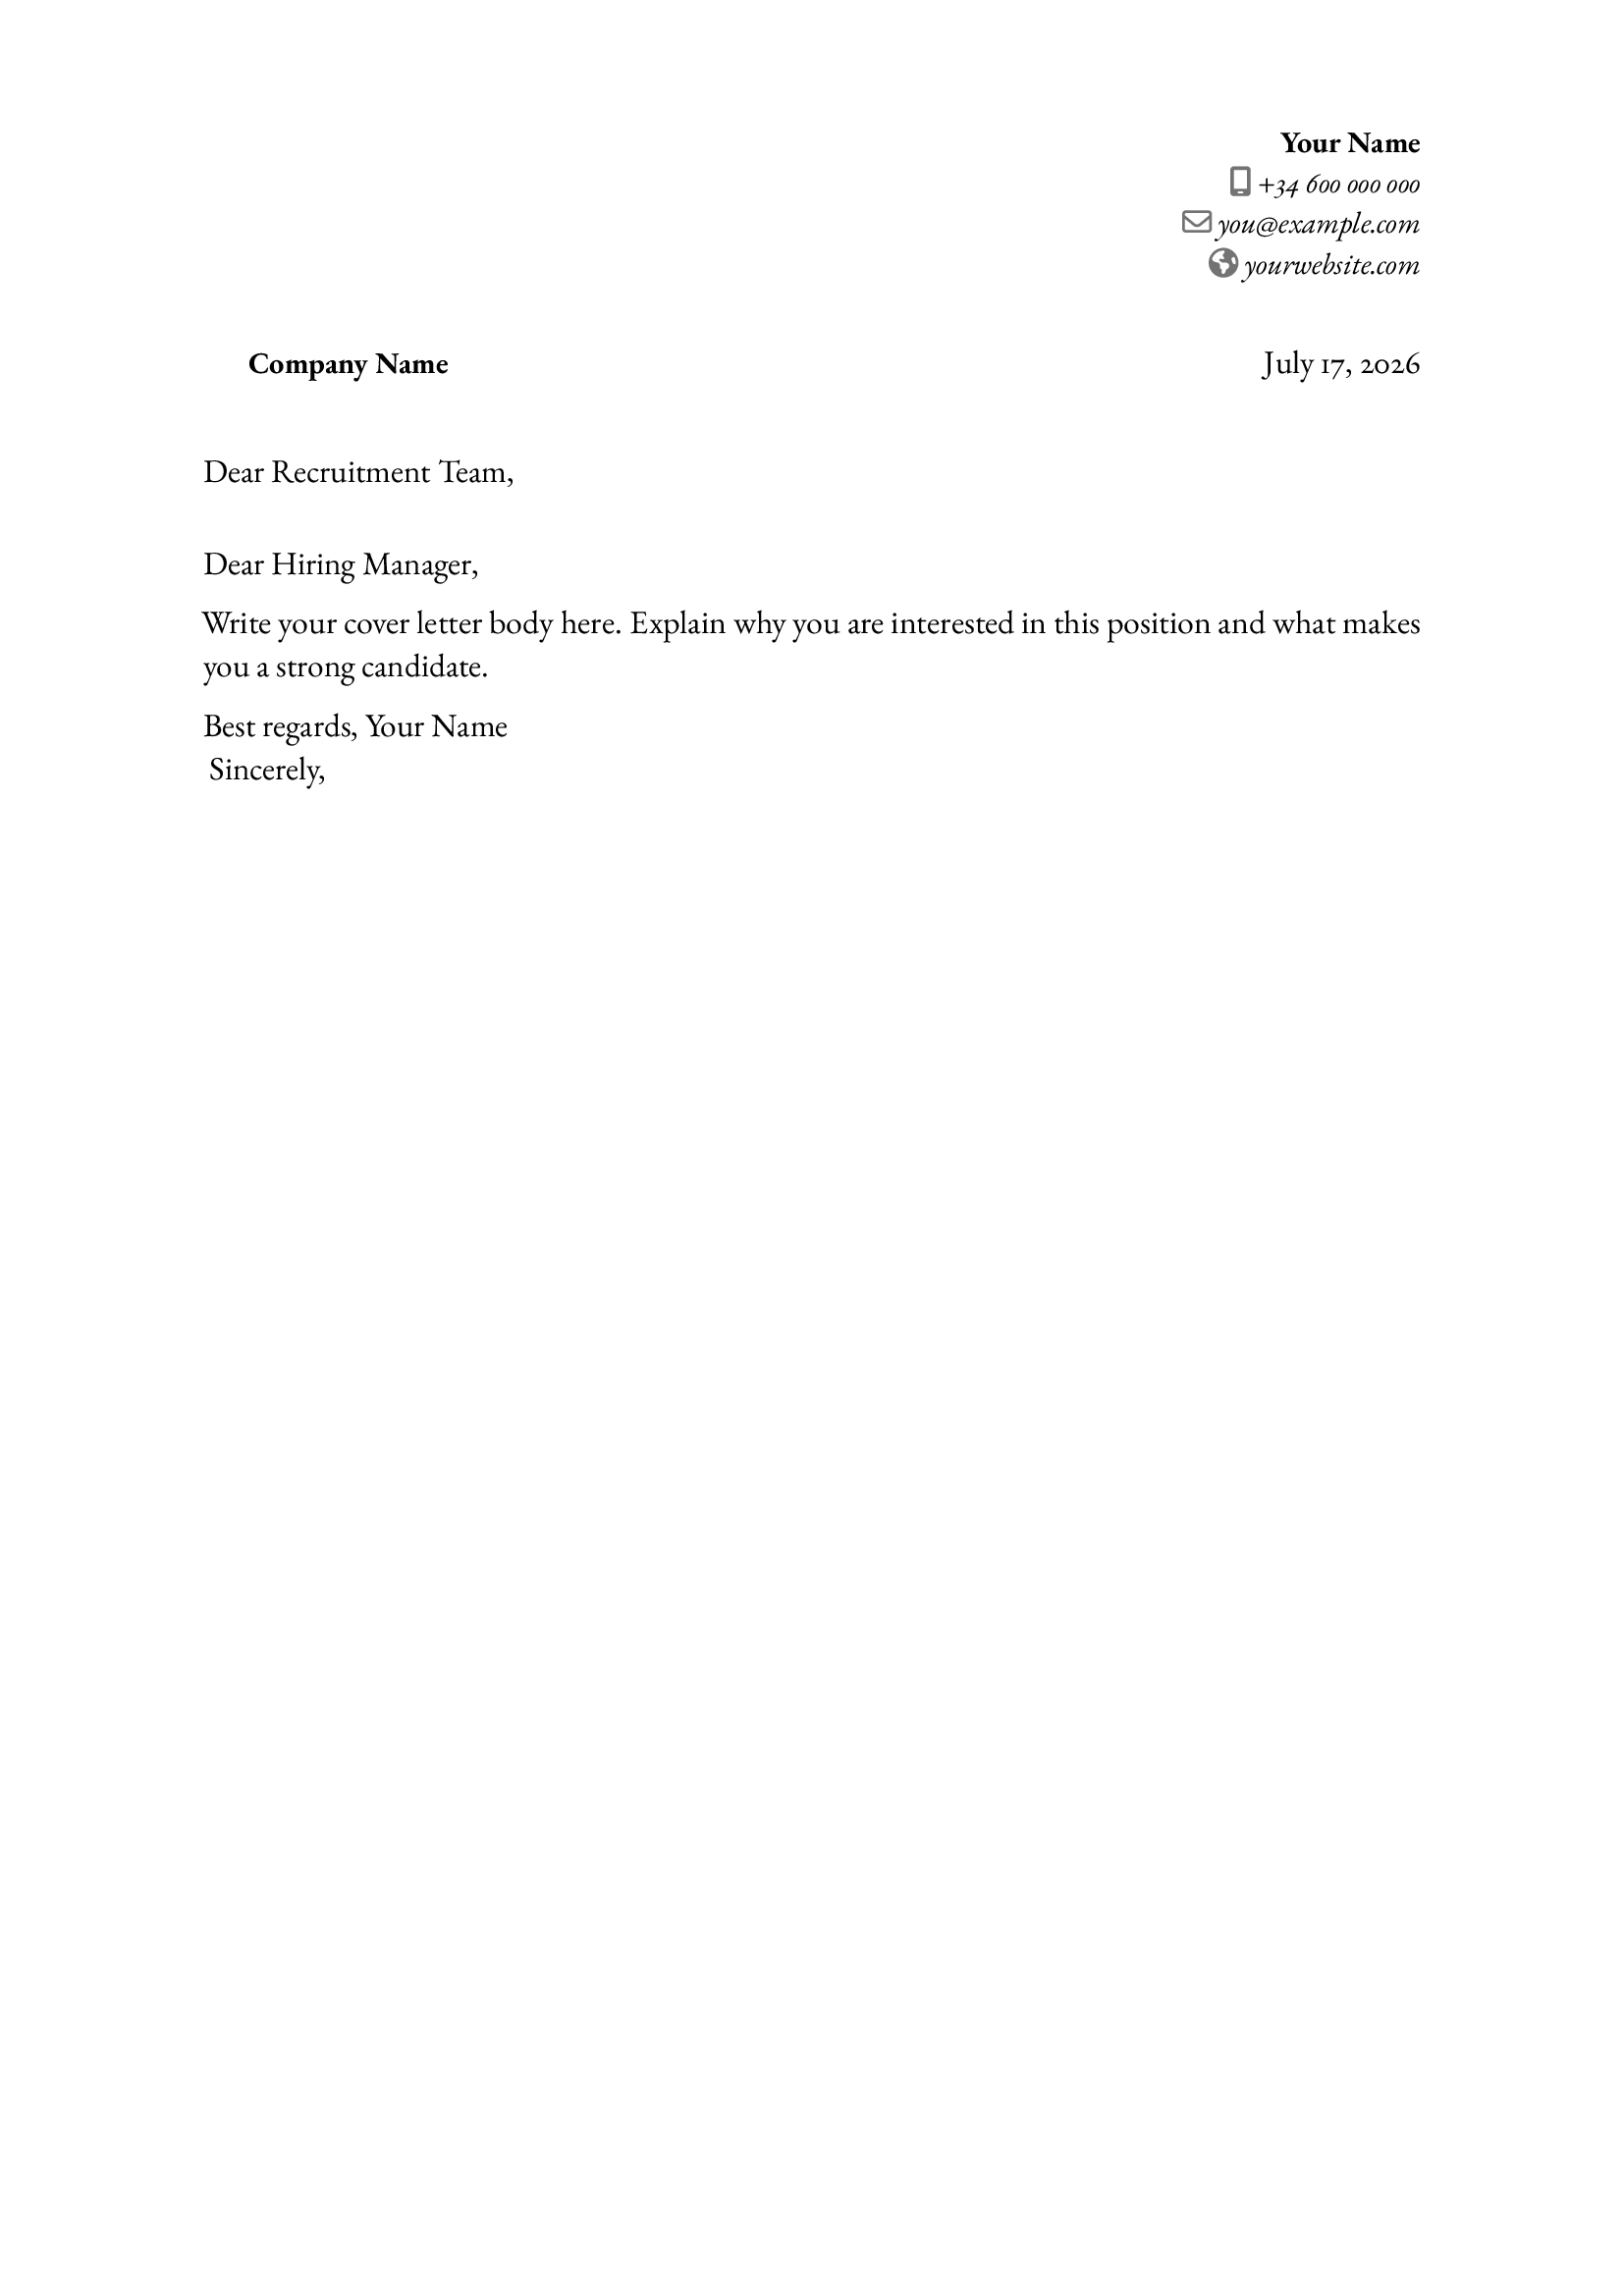 |
With that, you’ll have a professional CV in hand! From here, you just need to tweak the LaTeX file to your preferred style once and update the .yaml file whenever you finish a professional stage.
Happy crafting! If you run into any issues with Pandoc or LaTeX environments, feel free to drop a comment below.